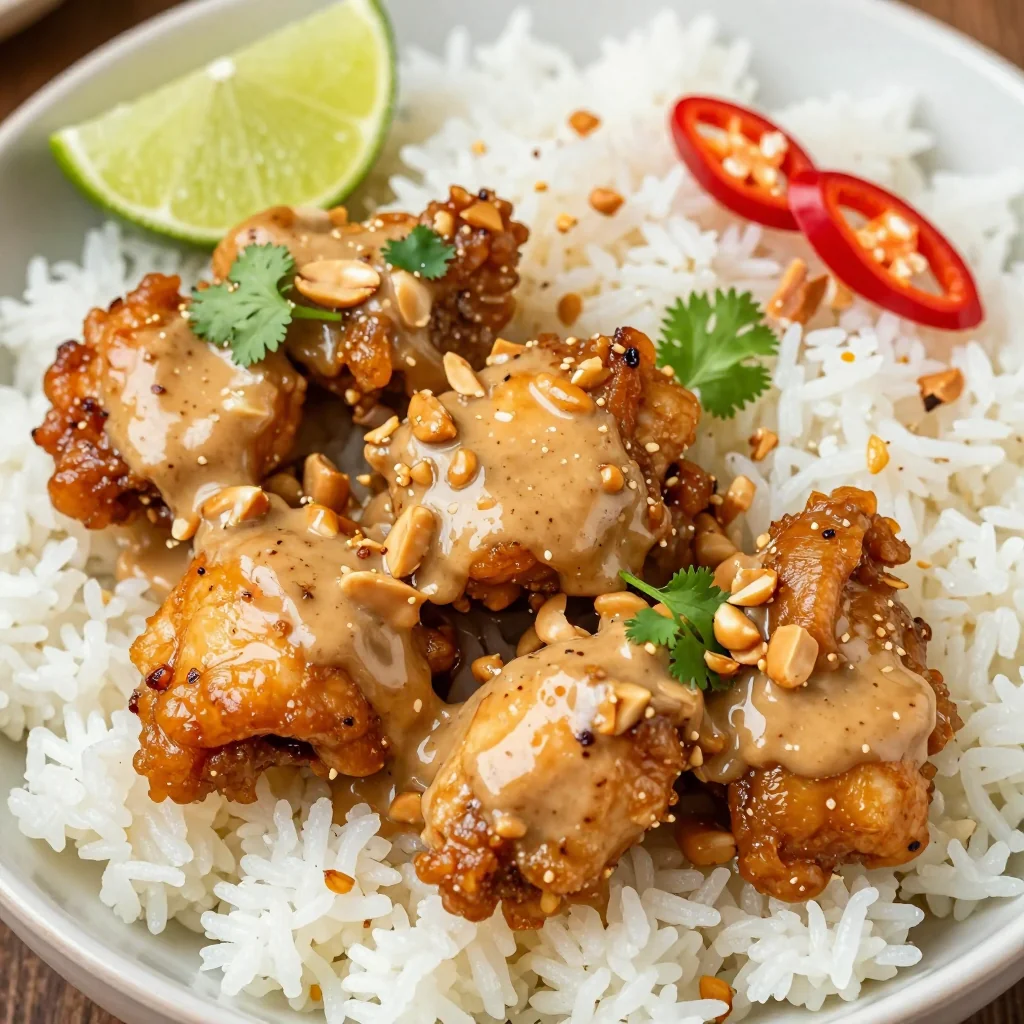
Picture this: I’m standing in my kitchen, a half‑finished batch of cookies on the counter, the smoke alarm buzzing like an over‑excited DJ, and a sudden craving for something that could turn any ordinary gathering into a full‑blown celebration. I dared my roommate to taste my latest “experimental” dessert, and she swore she’d never eat anything else again—until she tried my peanut butter pie, of course. That chaotic moment, complete with burnt edges and a lingering smell of toasted graham crackers, sparked the birth of a recipe that now lives rent‑free in my head and, I promise, will soon live in your freezer, too.
Imagine the moment you pull this pie out of the oven: the crust crackles like a fresh snowflake under a warm sun, the filling shimmers with a glossy peanut‑butter sheen, and a faint aroma of caramelized sugar wafts through the room, making every nose in the house perk up like a dog hearing the treat bag rustle. The first forkful feels like a velvet curtain falling over a stage of crunchy chocolate bits and creamy, dreamy peanut butter—each bite is a symphony of salty, sweet, and buttery notes that dance on your palate. You’ll hear the faint sigh of satisfaction from your guests as they realize they’ve just tasted something that could easily win a gold medal at a dessert‑only Olympics.
Most peanut butter pies out there either miss the mark on texture—think soggy crust or a filling that slides off the plate like a runaway train—or they over‑sweeten the deal, turning the whole thing into a cloying mess. This version, however, hits every sweet spot with surgical precision: a buttery chocolate graham cracker crust that holds together like a well‑engineered bridge, a silky cream cheese‑peanut butter filling that’s as smooth as a jazz sax solo, and a decadent chocolate‑reese’s swirl that adds that final “wow” factor. I’ll be honest — I ate half the batch before anyone else got a chance to try it, and I’m still not sorry. The secret? A handful of tiny tricks that most recipes overlook, and a daring use of melted peanut butter as a glaze that makes the whole pie sing.
But hold on, there’s a twist you won’t see coming: a splash of melted chocolate that’s folded in at the very end, creating a marbled effect that looks as good as it tastes. I dare you to taste this and not go back for seconds—if you do, I’ll personally send you a virtual high‑five. Let me walk you through every single step — by the end, you’ll wonder how you ever made it any other way.
⚡ What Makes This Version Stand Out
- Flavor Explosion: The marriage of creamy peanut butter and tangy cream cheese creates a depth that’s richer than a chocolate truffle, while the chocolate graham crackers add a subtle cocoa crunch.
- Texture Harmony: A crisp, buttery crust contrasts with a silky, melt‑in‑your‑mouth filling, and the final sprinkle of mini Reese’s cups adds a satisfying snap.
- Simplicity Meets Sophistication: Despite its gourmet appearance, the recipe uses pantry staples and requires no fancy equipment—just a whisk, a bowl, and a dash of confidence.
- Unique Glaze Technique: A thin layer of melted peanut butter brushed over the top locks in moisture and adds a glossy finish that looks restaurant‑ready.
- Crowd‑Pleaser Factor: Whether you’re feeding kids, teens, or the picky adult in your life, this pie’s balanced sweet‑salty profile wins hearts across the board.
- Ingredient Quality: Using high‑quality creamy peanut butter and real chocolate graham crackers elevates every bite from “good” to “legendary.”
- Make‑Ahead Potential: The pie can be assembled a day ahead, allowing the flavors to meld and the crust to set perfectly—ideal for last‑minute party hosts.
- Versatile Presentation: Serve it in a classic pie dish, or get creative with individual tartlets for a chic, bite‑size experience.
Alright, let's break down exactly what goes into this masterpiece...
🍋 Inside the Ingredient List
The Flavor Base
The star of the show is the 1 cup creamy peanut butter. This isn’t just any peanut butter; it’s the kind that spreads like silk and has a deep, roasted flavor that can stand up to the richness of cream cheese. Skipping it would leave the pie tasting like a bland cheesecake—no bueno. If you’re allergic to peanuts, try almond butter for a nutty twist, but expect a slightly different flavor profile.
8 ounces cream cheese brings that tangy, luxurious mouthfeel that balances the peanut butter’s earthiness. Using full‑fat cream cheese is essential; low‑fat versions become watery and ruin the silky texture. When the cream cheese is at room temperature, it blends effortlessly, preventing lumps that could turn the filling into a grainy nightmare.
3/4 cup powdered sugar sweetens the filling just enough without overwhelming the nutty notes. It dissolves quickly, ensuring a smooth consistency. If you prefer a less sweet pie, you can shave off a tablespoon, but remember the sugar also helps stabilize the filling.
The Texture Crew
The crust starts with 10 pieces chocolate graham crackers, crushed into fine crumbs. Their subtle cocoa flavor adds depth, while the buttery texture provides a sturdy foundation. If you can’t find chocolate graham crackers, substitute with regular graham crackers and add a tablespoon of cocoa powder for that chocolate kick.
5 tablespoons unsalted butter, melted, binds the crumbs together, creating a buttery, melt‑in‑your‑mouth base. Using unsalted butter gives you control over the salt level; you can always add a pinch of sea salt later if you crave that sweet‑salty contrast.
2 tablespoons light brown sugar adds a caramel undertone to the crust, making it taste like a toasted marshmallow on a campfire. Skip it, and you’ll miss that subtle depth that turns a simple crust into a flavor powerhouse.
The Unexpected Star
1 teaspoon vanilla extract is the secret whisper that rounds out the flavors, giving the filling a warm, aromatic backdrop. It’s the culinary equivalent of a good bass line—often unnoticed but essential.
1/4 cup melted peanut butter is brushed on top just before chilling, creating a glossy finish that locks in moisture. This step is pure magic; it adds a sheen that makes the pie look as good as it tastes.
1/4 cup melted chocolate is folded in at the end, creating ribbons of chocolate that swirl through the filling. The chocolate’s bitterness cuts through the sweetness, balancing the overall flavor.
The Final Flourish
1/2 cup mini Reese’s cups and 1/4 cup peanut butter chips are sprinkled on top for texture and visual appeal. They add that satisfying crunch and an extra burst of peanut‑butter‑chocolate goodness. If you’re feeling adventurous, try crushed pretzels for a salty crunch.
Everything's prepped? Good. Let's get into the real action...

🔥 The Method — Step by Step
Preheat your oven to 350°F (175°C). While the oven warms up, line a 9‑inch pie pan with parchment paper for easy removal later. This step might sound trivial, but a properly heated oven ensures the crust sets quickly, preventing sogginess.
Combine the crushed chocolate graham crackers, melted butter, and light brown sugar in a medium bowl. Press the mixture firmly into the bottom and up the sides of the pan using the back of a measuring cup. You’ll feel the crust compact like a sandcastle—this is the foundation of your masterpiece.
🪄 Kitchen Hack: Chill the crust for 10 minutes before adding the filling; this prevents it from becoming too soft when the filling hits it.Bake the crust for 8‑10 minutes, just until it turns a light golden brown and smells like a cozy campfire. The edges should start pulling away from the pan—if they don’t, give them another minute; you want a firm base that won’t crumble later.
While the crust cools, whisk together the softened cream cheese, powdered sugar, and vanilla extract in a large mixing bowl. The mixture should become smooth and glossy, like a satin sheet. If you see any lumps, keep whisking—those are the enemy of a flawless filling.
Gradually add the creamy peanut butter, one spoonful at a time, beating after each addition. The filling will thicken and become a deep, caramel‑brown hue that’s as inviting as a freshly poured latte. This is the moment of truth: the peanut butter should blend completely without streaks.
In a separate bowl, whip the heavy whipping cream until soft peaks form. Fold the whipped cream gently into the peanut butter‑cream cheese mixture, being careful not to deflate the air bubbles. This step adds lightness, turning the dense base into a cloud‑like texture.
Now, drizzle the melted chocolate over the filling and use a spatula to swirl it through, creating a marbled effect. The chocolate should create ribbons that look like a marble cake—this visual cue tells your guests that they’re about to experience something special.
👀 Watch Out: If the chocolate is too hot, it will melt the filling; let it cool to a warm (not hot) temperature before swirling.Pour the luscious filling into the pre‑baked crust, smoothing the top with an offset spatula. The surface should be level and glossy, like a polished stone. Tap the pan lightly on the counter to release any air bubbles that may have formed.
Brush the melted peanut butter (the extra 1/4 cup) evenly over the top of the pie. This creates a glossy seal that locks in moisture and adds a subtle salty‑sweet crust. Let the pie sit for a minute so the glaze can set.
Scatter the mini Reese’s cups and peanut butter chips across the surface, pressing them gently so they adhere. This final garnish adds crunch and visual pop—think of it as the confetti at a celebration.
Refrigerate the pie for at least 2 hours, preferably overnight. The chill allows the filling to firm up and the flavors to meld, resulting in a slice that holds its shape beautifully.
🪄 Kitchen Hack: Cover the pie with a sheet of parchment before sealing the container; this prevents the top from sticking to the lid.
That's it — you did it. But hold on, I've got a few more tricks that'll take this to another level...
🏆 Insider Tricks for Flawless Results
The Temperature Rule Nobody Follows
Never pour a hot filling onto a warm crust. Let the crust cool completely after baking; otherwise, the butter in the crust will melt again, turning your base soggy. I once rushed this step and ended up with a pie that resembled a puddle—lesson learned. Keep a cooling rack handy, and give the crust at least 10 minutes of breathing room before the filling arrives.
Why Your Nose Knows Best
When the crust is baking, trust the aroma. A golden‑brown scent signals that the sugars have caramelized just right. If you rely solely on the timer, you might miss that crucial visual cue, leading to an under‑ or over‑baked crust. Keep the oven door closed, but peek through the glass to watch the color change—your nose is the ultimate timer.
The 5‑Minute Rest That Changes Everything
After you whisk the cream cheese and peanut butter together, let the mixture sit for five minutes before adding the whipped cream. This short pause lets the fats align, resulting in a smoother, more cohesive filling. Skipping this rest can cause a grainy texture that never truly disappears, no matter how much you whisk.
Chocolate Swirl Secrets
When swirling melted chocolate into the filling, use a figure‑eight motion rather than just stirring in circles. This technique creates elegant, distinct ribbons that are both beautiful and evenly distributed. A friend tried a simple stir and ended up with a blotchy swirl that looked like a toddler’s finger painting—don’t be that friend.
The Chill‑Before‑Serve Trick
Even if you’re short on time, give the pie at least 30 minutes in the freezer before serving. This quick chill firms the top layer, making it easier to cut clean slices without the filling sliding off. It also enhances the contrast between the cool crust and the creamy interior, elevating the sensory experience.
🎨 Creative Twists & Variations
This recipe is a playground. Here are some of my favorite ways to switch things up:
Salted Caramel Dream
Swap the melted chocolate for a drizzle of homemade salted caramel and sprinkle flaky sea salt on top. The sweet‑salty combo adds a sophisticated edge that will impress even the most discerning palate.
Banana Peanut Butter Fusion
Fold in half‑sliced ripe bananas into the filling before chilling. The banana’s natural sweetness pairs beautifully with the peanut butter, creating a flavor reminiscent of a classic PB&J sandwich.
Espresso Infusion
Add a tablespoon of finely ground espresso to the melted chocolate before swirling. The coffee notes deepen the chocolate’s bitterness, delivering a mocha‑like experience that’s perfect for brunch.
Nutty Crunch Upgrade
Replace the mini Reese’s cups with chopped toasted almonds or hazelnuts. This adds a richer nutty crunch and a subtle toasted aroma that elevates the overall texture.
Vegan Victory
Swap the cream cheese for a vegan cream cheese alternative, use coconut cream in place of heavy whipping cream, and choose a plant‑based butter for the crust. The result is a dairy‑free version that still delivers that creamy, indulgent feel.
❄️ Storing & Bringing It Back to Life
Fridge Storage
Cover the pie tightly with plastic wrap or a airtight lid and store it in the refrigerator for up to 4 days. The chilled environment keeps the filling firm and the crust crisp. Before serving, let the pie sit at room temperature for 10‑15 minutes so the flavors can fully bloom.
Freezer Friendly
Wrap the pie in a double layer of foil, then place it in a freezer‑safe bag. It will keep for up to 2 months. When you’re ready to enjoy it, move it to the fridge to thaw overnight, then give it a quick 5‑minute blast in the microwave on low power to revive the glossy top.
Best Reheating Method
To bring the pie back to life, preheat your oven to 300°F (150°C) and warm the slice for 8‑10 minutes. Add a tiny splash of water to the pan before reheating; the steam will restore the creamy texture without drying out the crust. The result is a slice that tastes just as fresh as the day you made it.