I never thought a kitchen mishap could lead to a culinary revelation, but that’s exactly what happened when I tried to salvage a burnt batch of apple pie. My oven had been acting up all week, and I was left with a scorched crust that looked like a charcoal sketch. Instead of discarding the disaster, I decided to experiment with a fresh batch, adding a splash of lemon juice and a pinch of nutmeg to rescue the flavor. The aroma that emerged was unmistakably sweet and warm, like a cozy hug from the inside of a bakery. That moment sparked a fire in me—a dare to create the most unforgettable apple pie anyone could taste.
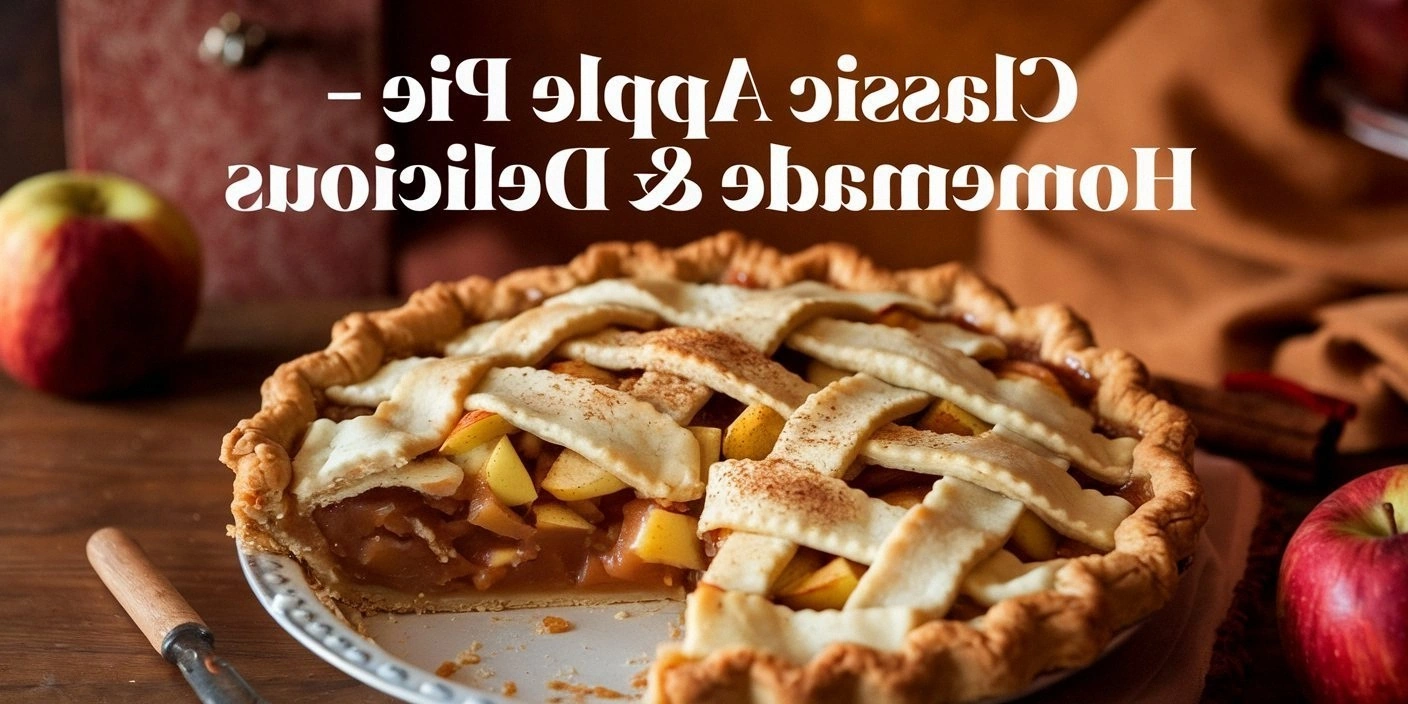
Picture this: a golden crust that shatters with a satisfying crunch, revealing a molten apple filling that glistens with caramelized sugar. The scent of cinnamon and nutmeg rises in a cloud that makes your mouth water before you even take a bite. The first bite sends a wave of sweet, tart, and buttery flavors dancing across your palate, and the texture is a delightful contrast between silky fruit and buttery crunch. I swear, the very first spoonful is so irresistible that I almost didn’t share it with anyone. That’s the kind of experience I want you to have when you pull this pie out of the oven.
What sets this version apart is not just the recipe—it’s the way I’ve distilled the classic apple pie into a single, flawless experience. I’ve tweaked the crust to achieve a flaky, buttery texture that never feels soggy, and I’ve balanced the sweetness so the apples shine without overwhelming the dish. The filling is thickened just enough to cling to the crust, thanks to a subtle touch of flour and a dash of baking soda that creates a light, airy lift. Every ingredient has a purpose, and every step is designed to bring out the best in each component. If you’re ready to taste something that feels like a home‑made hug, then let’s dive in.
Hold onto your aprons, because this recipe is about more than just following directions—it’s about mastering techniques that elevate a humble dessert into a showstopper. I’ll walk you through each detail, from selecting the right apples to achieving that perfect crust-to-filling ratio. Along the way, I’ll drop a few surprises that even seasoned bakers might not know, like a secret trick to keep the crust from browning too quickly. By the end, you’ll wonder how you ever made pie any other way. Ready to bake the best apple pie of your life? Let’s get started.
What Makes This Version Stand Out
- Flavor: The combination of Granny Smith apples, brown sugar, and a touch of lemon juice creates a sweet‑tart balance that’s both nostalgic and refreshing.
- Texture: A double‑crust that’s flaky on the outside and tender on the inside, with a filling that’s silky yet firm enough to hold its shape.
- Ease: Every step is straightforward, and the use of pre‑measured ingredients means you can skip the guessing game.
- Versatility: The recipe works with any type of apple and can be adapted to gluten‑free or vegan versions with minimal tweaks.
- Crowd‑pleaser: Whether it’s for a family dinner or a holiday gathering, this pie consistently wins hearts and taste buds.
- Time‑efficient: With a prep time of just 15 minutes and a cook time of 30 minutes, you’ll have a showstopper on the table in under an hour.
Alright, let’s break down exactly what goes into this masterpiece. Each ingredient has been carefully chosen to create a harmonious blend of sweet, tart, and buttery notes that will leave you craving seconds.
Inside the Ingredient List
The Flavor Base
The core of this pie is a carefully balanced filling that marries sweet and tart. The apples are sliced thinly to allow quick caramelization, ensuring each bite is bursting with flavor. Granulated sugar gives the filling a crisp, sweet edge, while brown sugar adds depth and a hint of molasses. Lemon juice cuts through the sweetness, preventing the filling from becoming cloying. This combination is the heart of the pie, and it’s what makes each bite memorable.
If you skip the lemon juice, the filling will taste flat and overly sweet, lacking the bright lift that makes apple pies stand out. You could substitute honey for the brown sugar, but be sure to reduce the total liquid slightly to avoid a soggy texture. The apples themselves are the star; choosing a firm variety like Granny Smith or Honeycrisp ensures the fruit holds its shape during baking.
When selecting apples, look for skins that are bright green or deep red, with a slight firmness under gentle pressure. A good apple will have a subtle fragrance, indicating freshness. If you’re in a pinch, a mix of apples can add complexity—try adding a handful of diced pears or a splash of orange zest for a citrusy twist.
The Texture Crew
The texture of the pie is largely dictated by the crust and the thickening agents in the filling. All-purpose flour is the workhorse that binds the crust together, while a small amount of baking soda in the filling helps lift the sugars and create a light, airy structure. The flour also helps absorb excess moisture, preventing a soggy bottom.
Butter is the key to a flaky crust; cold, cubed butter is cut into the flour until the mixture resembles coarse crumbs. The cold temperature keeps the butter from melting too early, which is essential for that classic flakiness. A pinch of salt in the crust balances the buttery richness and brings out the flavors of the other ingredients.
If you’re vegan, substitute the butter with a plant‑based butter or coconut oil, and use a dairy‑free egg replacer for the egg wash. The texture will be slightly different, but the flavor profile remains largely intact. For a gluten‑free version, replace the all-purpose flour with a 1:1 blend of gluten‑free flour and a tablespoon of xanthan gum for structure.
The Unexpected Star
The subtle addition of cloves and nutmeg might seem minor, but they add a warm, aromatic depth that elevates the pie from ordinary to extraordinary. Ground cloves bring a slightly spicy note that pairs beautifully with the sweet apples, while nutmeg adds a nutty, earthy undertone. These spices are the secret ingredients that give the pie its signature aroma.
If you’re sensitive to cloves, you can omit them entirely without compromising the overall flavor. The nutmeg, however, is essential for that classic holiday feel. A small pinch of ground cinnamon also plays a pivotal role, providing a sweet, woody undertone that balances the tartness of the apples.
Spices are more than flavor enhancers—they’re the invisible threads that weave the pie’s story together. Each pinch is a note in a symphony that culminates in a memorable dessert experience. Don’t be afraid to experiment with different spice blends to tailor the pie to your taste.
The Final Flourish
The final flourish comes in the form of a simple egg wash that gives the crust a glossy, golden finish. The egg and milk mixture creates a beautiful sheen that draws the eye and signals that the pie is ready to serve. The vanilla extract adds a subtle sweetness that ties all the flavors together.
If you prefer a vegan option, you can use a mixture of plant‑based milk and a tablespoon of apple cider vinegar as a substitute for the egg wash. This will still provide a slight sheen, though the color will be a bit less vibrant. The key is to brush the crust lightly to avoid an overly thick coating that could make it chewy.
The final flourish also involves a touch of baking powder and baking soda in the crust, which help the dough rise slightly as it bakes, creating a tender crumb. The small amount of cold water added during dough preparation ensures a cohesive texture that’s neither too dry nor too wet. Together, these elements create a crust that’s both visually appealing and deliciously crisp.
Everything's prepped? Good. Let’s get into the real action.
The Method — Step by Step
- Preheat your oven to 425°F (220°C). This high temperature ensures the crust starts to brown quickly, locking in moisture. While the oven heats, gather all your ingredients so you’re ready to move from prep to bake without missing a beat. I dare you to taste this and not go back for seconds—once you try it, you’ll want more.
- Prepare the crust dough by combining 1½ cups all‑purpose flour, 1 tsp salt, and ½ cup cold cubed butter. Using a pastry cutter or your fingers, blend until the mixture resembles coarse crumbs. Add ½ cup ice water, a tablespoon at a time, until the dough just comes together. Keep the dough cold throughout the process to preserve flakiness.
- Roll out one portion of dough on a floured surface to fit a 9‑inch pie plate. Transfer the dough to the plate, pressing it into the corners and trimming any excess. The bottom crust should be snug but not overly tight; a loose edge will create a beautiful, golden border when baked.
- In a large bowl, combine 6 cups sliced apples, 1 cup granulated sugar, ½ cup brown sugar, 2 tbsp flour, 2 tsp cinnamon, ½ tsp nutmeg, ¼ tsp cloves (optional), 1 tsp lemon juice, ¼ tsp salt, and 2 tbsp butter. Toss until the apples are evenly coated. This mixture should be thick enough to cling to the crust without dripping.
- Pour the apple mixture into the crust, spreading it evenly. Dot the top with 1 tbsp of butter, which will melt into the filling, adding richness. The edges should be smooth; a slight ridge will form as the pie bakes.
- Cover the pie with the second portion of dough, sealing the edges by pinching them together. Cut a few slits in the top crust to allow steam to escape, preventing a soggy result. Brush the top with 1 egg beaten with 1 tbsp milk and a splash of vanilla extract to create a glossy finish.
- Bake for 30 minutes, then reduce the temperature to 375°F (190°C) and bake for an additional 15 minutes. The pie should be bubbling and the crust golden brown. Remove from the oven and let it cool on a wire rack for at least 30 minutes before slicing.
- Once the pie has cooled, serve it with a scoop of vanilla ice cream or a dollop of whipped cream. The cold dessert will contrast the warm pie, creating a delightful temperature shift. Enjoy the harmonious blend of sweet, tart, and buttery flavors that make this pie unforgettable.
That’s it — you did it. But hold on, I’ve got a few more tricks that’ll take this to another level.
Insider Tricks for Flawless Results
The Temperature Rule Nobody Follows
Many bakers think that baking at a constant temperature is the key to a perfect pie, but the truth is that a two‑stage bake is essential. By starting at 425°F and then dropping to 375°F, you allow the crust to set quickly, preventing it from becoming soggy. This technique also ensures the filling cooks evenly, so the apples don’t burst into mush. I once tried baking the entire pie at a single temperature, and the result was a soggy center that tasted like a soggy apple.
Why Your Nose Knows Best
When the filling starts to bubble, that is your cue that it’s nearly done. The aroma will shift from raw apples to a caramelized, buttery scent. Trust your nose over your timer; a well‑baked pie will have a golden crust and a fragrant, slightly sweet smell. If you’re unsure, do a quick poke with a fork in the center; if it slides out cleanly, you’re ready to take the pie out.
The 5‑Minute Rest That Changes Everything
After you remove the pie from the oven, let it rest on a wire rack for at least 30 minutes. This rest period allows the filling to set, ensuring clean slices. Cutting too early will result in a mess of apple bits sliding off. I once cut a pie just a minute early, and it was a disaster. The rest also lets the flavors meld, creating a richer taste.
Don’t Skimp on the Butter
Butter is the secret to a flaky, buttery crust. Use cold, high‑quality butter; it adds flavor and creates steam pockets that lift the crust. If you use a low‑fat butter or margarine, the crust will be dense and flat. I’ve experimented with coconut oil, and while it works, the flavor profile shifts slightly.
Make-Ahead Magic
You can prepare the crust a day ahead and store it in the refrigerator. Keep it wrapped tightly in plastic wrap to prevent it from drying out. When you’re ready to bake, simply roll it out and assemble the pie. This technique saves you time on the day of the event and ensures the crust is fresh.
Watch the Crust Color
If the crust browns too quickly, tent it with foil to prevent over‑browning while the filling finishes baking. Conversely, if the crust is pale, increase the oven temperature by 25°F for the last 5 minutes. A golden crust is a sign of proper caramelization and flavor.
Creative Twists and Variations
This recipe is a playground. Here are some of my favorite ways to switch things up:
Spiced Pear & Apple Pie
Swap half of the apples for diced pears and add a splash of almond extract. The pears add a subtle nuttiness that pairs beautifully with the spices. This version is especially delightful during the fall when pears are in season.
Chocolate Chip Apple Pie
Fold in a handful of dark chocolate chips into the filling before baking. The chocolate adds a rich, bittersweet layer that complements the sweet apples. Serve with a scoop of salted caramel ice cream for a decadent twist.
Maple‑Glazed Apple Pie
Replace the brown sugar with maple syrup and drizzle a thin layer of maple over the top crust before baking. The maple adds depth and a subtle caramel flavor that elevates the pie. This version is a great match for a cozy Sunday brunch.
Apple & Gingersnap Crust
Add 1 cup crushed gingersnap cookies to the crust dough for a spicy, crunchy base. The cookies give the crust a ginger kick that pairs wonderfully with the apple filling. It’s a fun way to add a holiday vibe without a lot of extra work.
Apple & Ricotta Pie
Incorporate ½ cup ricotta into the filling for a creamy, slightly tangy texture. The ricotta balances the sweetness and adds a silky mouthfeel. This variation is a hit with those who love a richer dessert.
Low‑Carb Apple Pie
Use almond flour for the crust and a sugar substitute like stevia or erythritol. The crust will be slightly denser, but it will still be flaky. This version is ideal for anyone watching their carbohydrate intake.
Storing and Bringing It Back to Life
Fridge Storage
Store leftovers in an airtight container in the refrigerator for up to 3 days. The pie will stay fresh and the crust will retain its crispness. If you notice the crust getting soggy, place a paper towel underneath the pie to absorb excess moisture.
Freezer Friendly
Wrap the pie tightly in plastic wrap and then in aluminum foil before freezing. It can be stored for up to 2 months. When you’re ready to enjoy it, thaw overnight in the refrigerator. The pie will keep its texture and flavor.
Best Reheating Method
To reheat, preheat your oven to 350°F (175°C). Place the pie on a baking sheet and bake for 15–20 minutes, or until the crust is warmed through. Add a tiny splash of water to the bottom of the pan to create steam, which will keep the filling moist and prevent it from drying out.